How to Start Botanical Illustration: A Beginner's Guide
by Emma Tildesley
Learn how to start botanical illustration with this beginner’s guide to essential supplies, choosing your first subject and creating your very first botanical artwork.

To begin your first botanical illustration, you actually need very little. Hot pressed paper, a few colours, and a simple botanical subject such as an apple or a leaf. Begin by capturing the shape and distinctive features of your subject, and then add gentle layers of colour to build realism.
At the beginning of my own creative journey, I remember just how overwhelming it felt to build an essential collection of materials, with so many options and conflicting advice online. It can be really difficult to know where to begin!
"In 2018, I discovered the beautiful world of botanical art. It perfectly combined two things I loved most: flowers and realism. It quickly became an obsession, and I couldn’t stop painting".
Over the years, I've learnt that you do not need an expensive drawer of materials or years of drawing experience to get started. What matters the most is studying your subject, and taking your time to practice your skills and focus on the learning process.
In this guide, I will share the materials I recommend, the subjects I would choose for a beginner and the simple steps I follow when creating botanical illustrations in coloured pencil and watercolour.
What is botanical illustration?
Botanical illustration is the art of drawing and painting plants with enough accuracy for their important features to be recognised. It brings together art and careful botanical observation, allowing us to record the details of a plant, from the shape of its leaves to the arrangement of its petals.
Botanical illustration dates back to ancient times, including Ancient Egypt, and has long been intertwined with science. Detailed illustrations have played an important role in documenting and identifying plants, particularly in botany and herbal medicine.
Unlike a purely imaginative drawing, botanical illustration begins with observation. You are looking closely at a real plant and trying to understand its shape, structure, colours and details before recording them on paper.
This does not mean every botanical illustration has to be a scientific study. You can create beautiful, detailed artwork of the plants growing in your garden, a flower you have picked up on a walk or a piece of fruit sitting in your kitchen.
One of the things I love most about botanical art is how it encourages me to slow down and connect with nature. When you spend time studying a single leaf, you begin to notice details you might otherwise have overlooked.
It is a truly wonderful way to combine creativity with an appreciation for the natural world.
What materials are needed to start botanical illustration?
For Watercolour and Coloured Pencil:
Hot Pressed Paper
The type of paper you choose to work with makes a huge difference to your finished botanical illustration, particularly when you want to capture fine details and layer colour.
I use St Cuthberts Mill Saunders Waterford Hot Pressed High White paper. Its smooth surface is well suited to detailed botanical work, whilst retaining enough texture to tolerate multiple washes of paint or layers of coloured pencil.
Hot pressed paper is a fantastic starting point if you want to work with fine lines, delicate veins and small details. You can read a little bit more about why I enjoy this paper so much in my interview with St Cuthberts Mill.
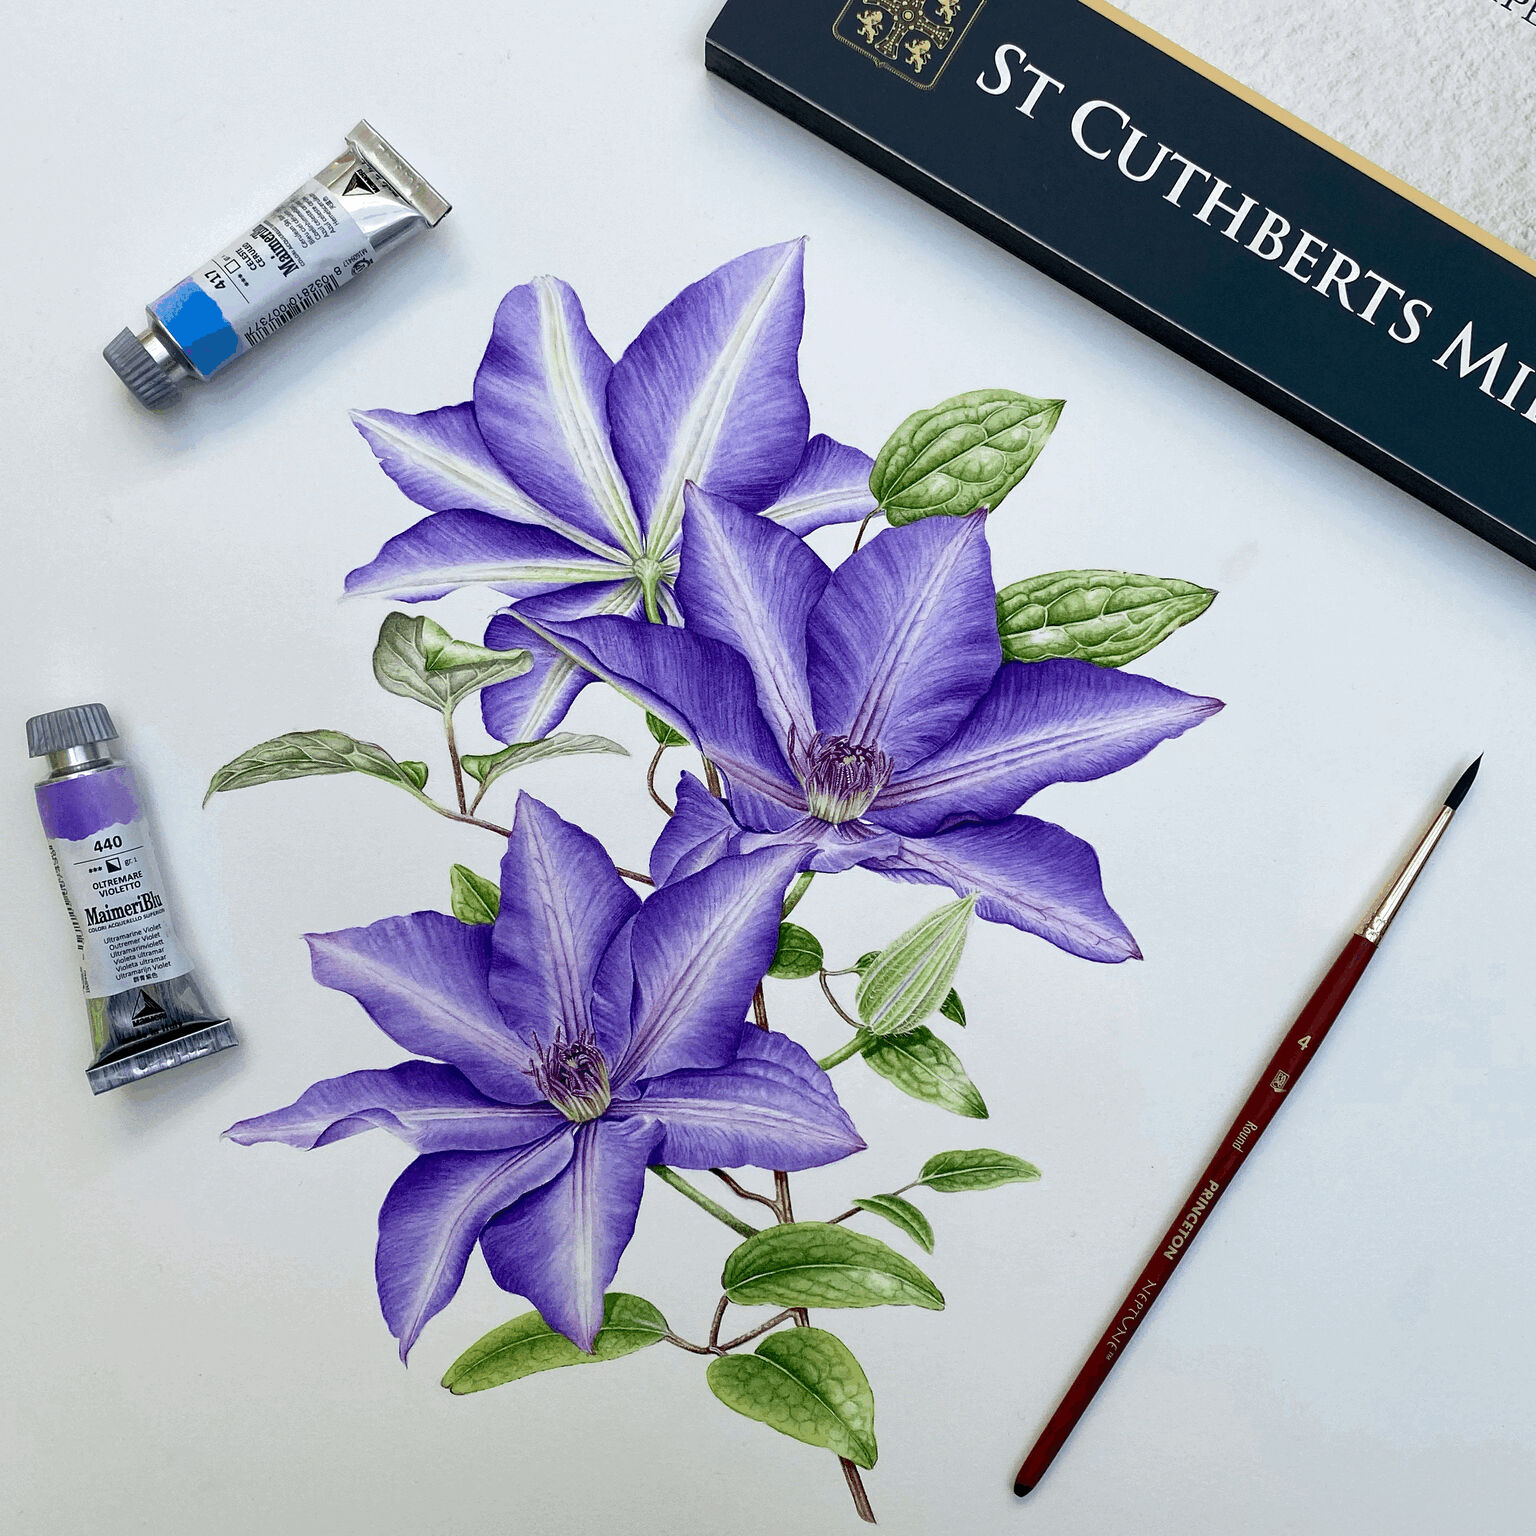
A pencil and putty rubber / eraser
An HB pencil is useful for creating your initial outline drawing. You want to work very lightly, so that your pencil marks do not show through the finished artwork.
A soft eraser or putty rubber will help you remove unwanted graphite and lighten your drawing before adding colour.
Ruler
A cork backed metal ruler is useful for measuring your subject and checking its proportions. You can use it to compare the height and width of a leaf or fruit before transferring those measurements to paper.
Magnifying glass
This is an optional extra, but one I find extremely useful. Looking at a subject more closely can reveal tiny details, colour variations and changes in texture that are easy to miss with the naked eye.
You can find some great options, including pocket sized versions that work fantastically when outside in nature, deciding which plant we might like to illustrate next!
Materials for Coloured Pencil
If you would like to start with coloured pencils, I recommend Faber-Castell Polychromos, which I use consistently throughout my coloured pencil tutorials.
You do not need to buy the largest tin available. A smaller selection of colours is enough to begin learning how to build layers, create shadows and mix colours optically on the paper. I emphasise to my students that botanical art uses a limited colour range, and it's much more cost effective to build a collection of individual pencils as you go.
A manual crank sharpener and a sanding block are also useful for keeping your pencils sharp enough for fine botanical details. A dull pencil with struggle to achieve crisp, realistic art!
Materials for Watercolour
For watercolour, I recommend starting with a limited palette of six paints: two blues, two yellows and two reds. These give you a useful range of colours to mix rather than needing to buy lots of individual greens, oranges and browns.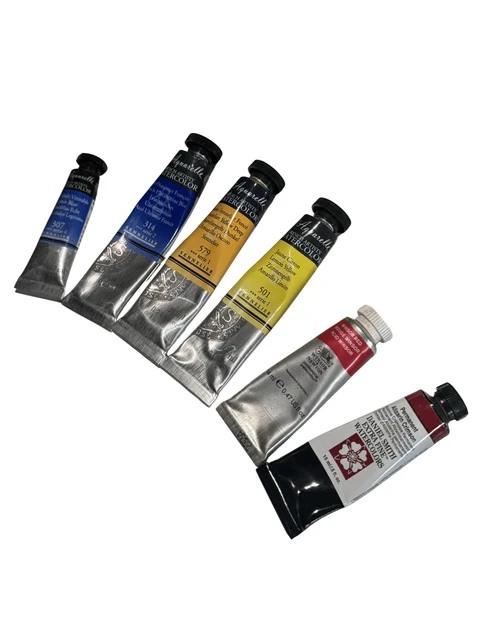
I use Prince Neptune round brushes in sizes 1 and 2 for fine details. They retain fluid beautifully, and have excellent water and pigment capacity. 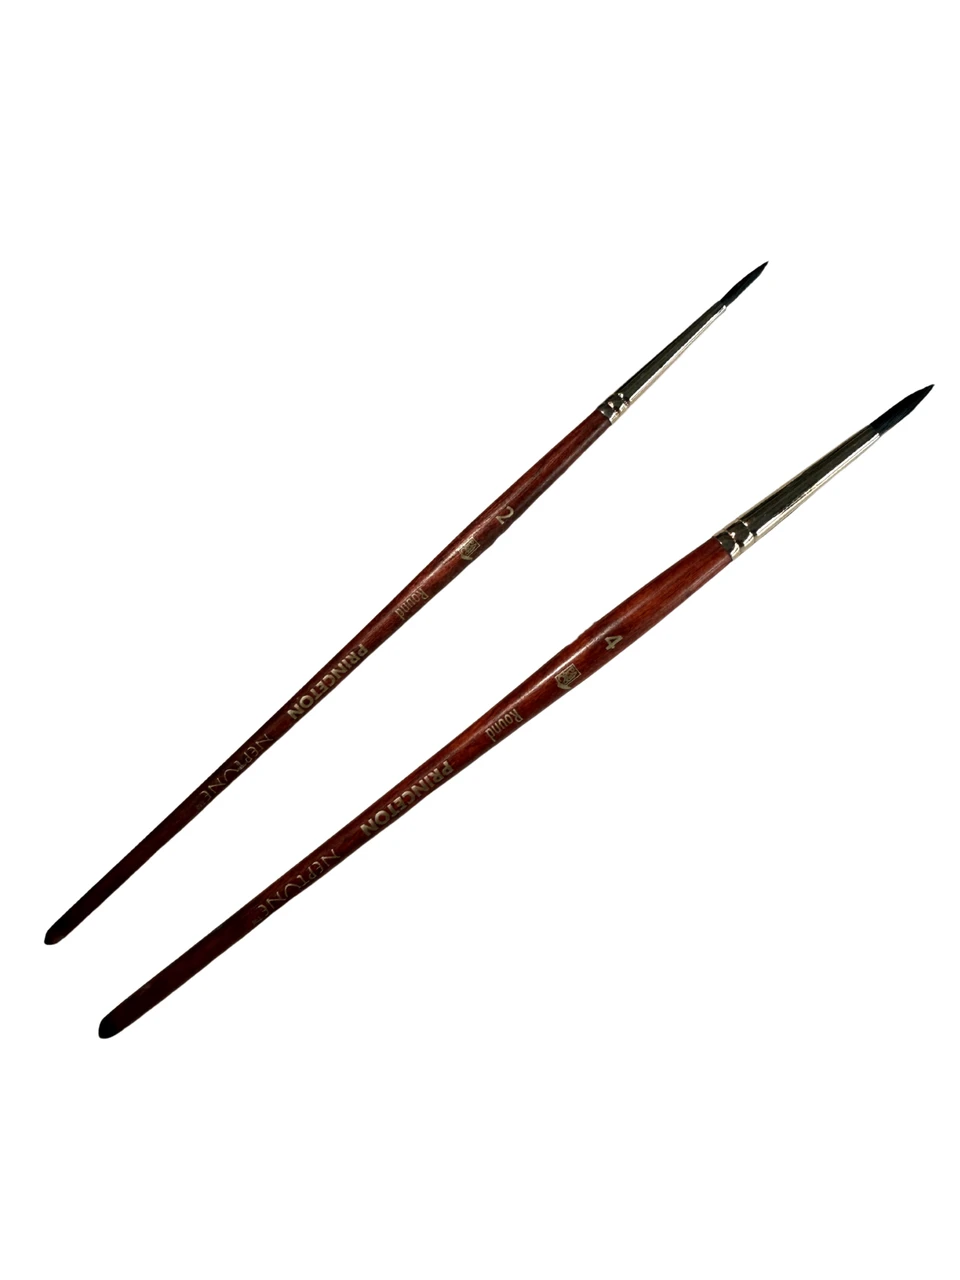
You will also need two water jars and kitchen towel.
If you are unsure which paints and brushes to choose, my watercolour tools for beginners guide can help you get started.
The most important thing is to begin with materials you feel comfortable using. You can always add to your collection as your skills develop!
What should you draw first?
When choosing your first botanical illustration, look for a subject with a simple shape and details you can comfortably observe.
It is tempting to begin with a complicated flower because it is breathtakingly beautiful, but a simpler subject gives you more opportunity to practise the fundamentals without becoming overwhelmed.
Here are three subjects that I recommend to build your confidence as a beginner:
1. A single leaf
A leaf is an excellent first subject. It has a relatively simple outline and gives you the opportunity to practise drawing shapes, observing colour variations and adding fine veins.
Choose a leaf with a clear shape and a few interesting details. You might find one in your garden or collect one on your next walk.
Look at how the leaf narrows towards its stem, whether its edges are smooth or serrated and how its veins branch from the central vein.
2. An apple or a small berry
Fruit is another lovely subject for beginners because it helps you practise light, shadow and colour.
An apple has a recognisable overall shape, but it also offers plenty of opportunities to develop your skills. You can practise creating a rounded form, building layers of colour and preserving the highlight that makes the surface look three dimensional.
Small berries are also worth trying once you feel comfortable with basic shapes.
3. A simple flower
When you are ready to try something a little more complex, choose a flower with a clear structure, such as a daffodil or tulip.
Look at how the petals are arranged, where they overlap and how the shadows change as they curve away from the light.
I would save more complicated flowers, such as roses and dahlias, for later. Their many overlapping petals can be challenging when you are still learning to observe and draw accurately.
Above all, choose something you genuinely enjoy looking at! You will spend a good amount of time studying your subject, so it helps to be interested in it.
How to create your first botanical illustration
Whether you choose coloured pencil or watercolour, the process begins in much the same way. You need to observe your subject carefully, establish its shape and understand where the light and shadows fall before building up the colour.
Step 1: Look closely before you draw
Before picking up your pencil, spend a few minutes simply looking at your subject.
Notice its overall shape, the direction of its stem and the way its different parts fit together. Look for the lightest and darkest areas, as well as any changes in colour.
Try not to rely on what you think a leaf or apple should look like. Instead, observe the particular subject in front of you.
This is one of the most useful habits you can develop as a botanical artist.
Step 2: Measure your subject
Accurate proportions are an important part of botanical illustration.
Use your ruler to compare the height and width of your subject. You can then use those measurements to help establish the correct proportions in your drawing.
You do not need to make this complicated. The aim is simply to understand the shape and dimensions before you start adding details.
Step 3: Draw lightly
Begin with a light outline, concentrating on the overall shape rather than the smaller details.
Once you are happy with the outline, add the main structural features, such as the central vein of a leaf or the outline of an apple's stalk.
The key is to avoid pressing too hard with your pencil. You want to be able to adjust your drawing and remove unnecessary marks without damaging the paper.
Take your time at this stage. Colour can add depth and interest, but it cannot easily correct a shape that is significantly out of proportion.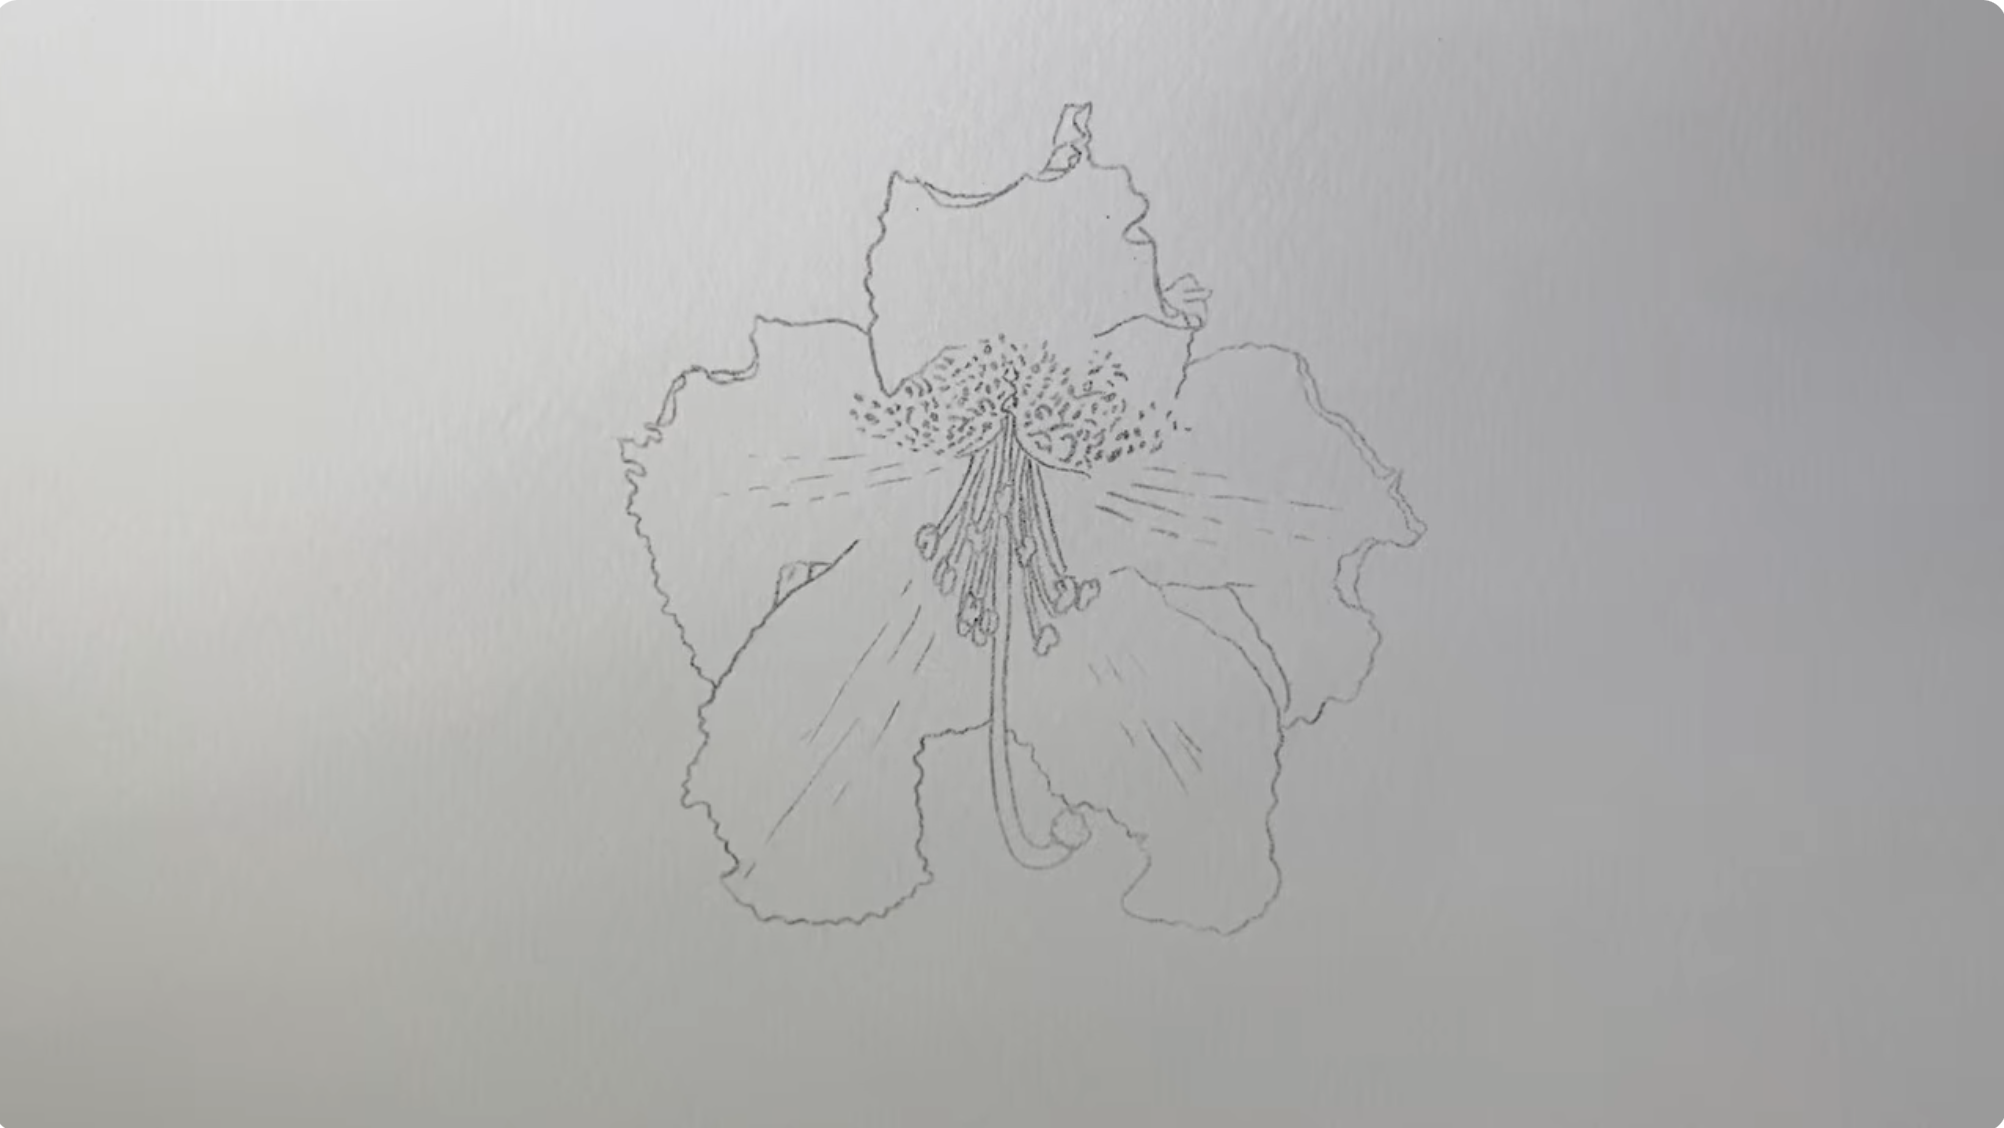
Step 4: Identify the light and shadows
Before adding colour, look carefully at where the light falls on your subject.
Where is the brightest highlight? Which areas are in shadow? Are there subtle changes in tone across the surface?
Light and shadow help to make botanical illustrations look realistic rather than flat.
Pay particular attention to the highlights. In both coloured pencil and watercolour, leaving areas of paper untouched
is the best way to preserve the brightest highlights, as adding colour over them can make it difficult to achieve the same effect later.
Step 5: Build up your colour slowly
This is where your chosen medium begins to make a difference.
With coloured pencil, use light pressure and gradually build up several layers, starting with the darkest colours. Layering allows you to create subtle changes in tone and gives you more control over the finished result.
With watercolour, begin with thin washes and allow each layer to dry before adding stronger colour where needed. You can gradually build depth without making the painting feel heavy.
In both mediums, resist the temptation to do everything at once. Working gradually gives you more control and makes it easier to adjust the colour as your illustration develops.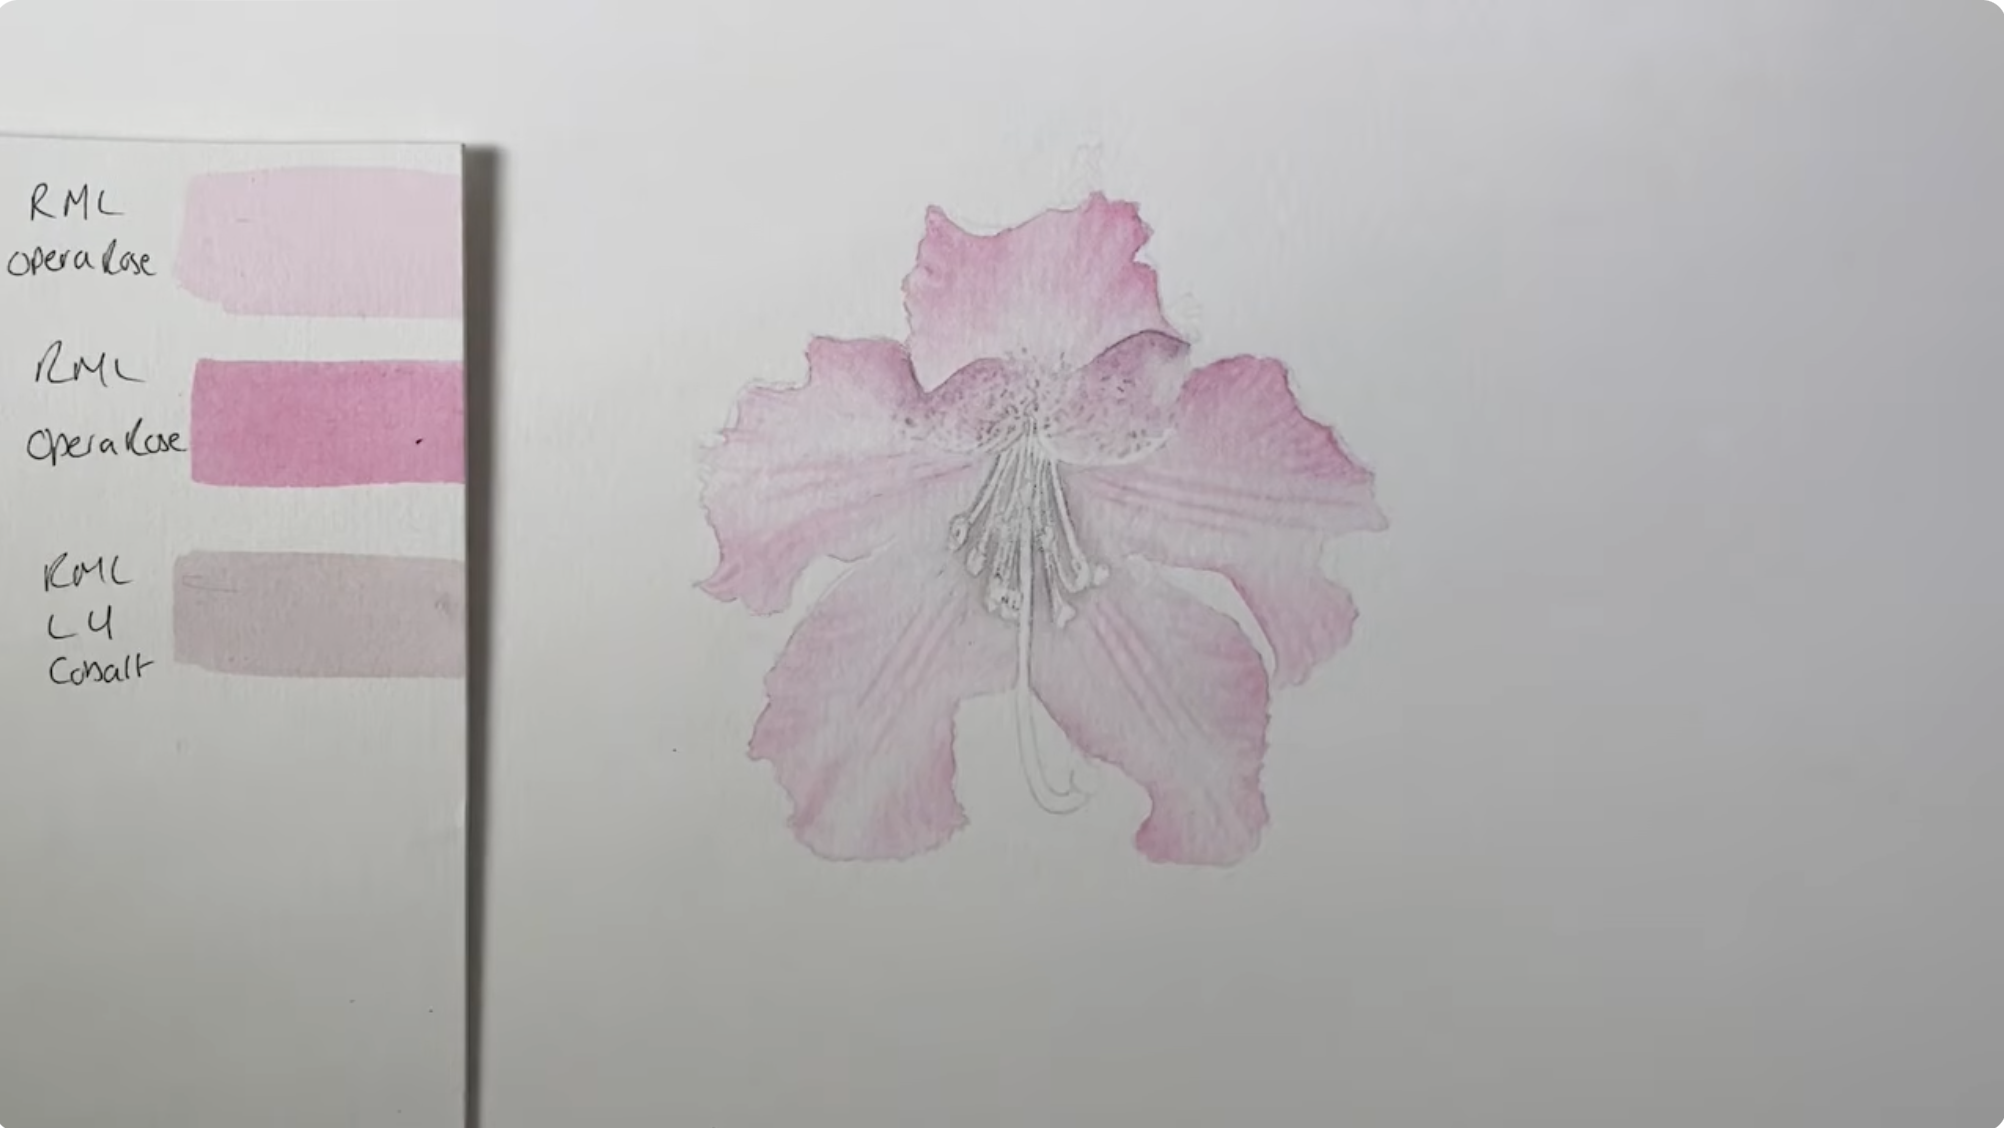
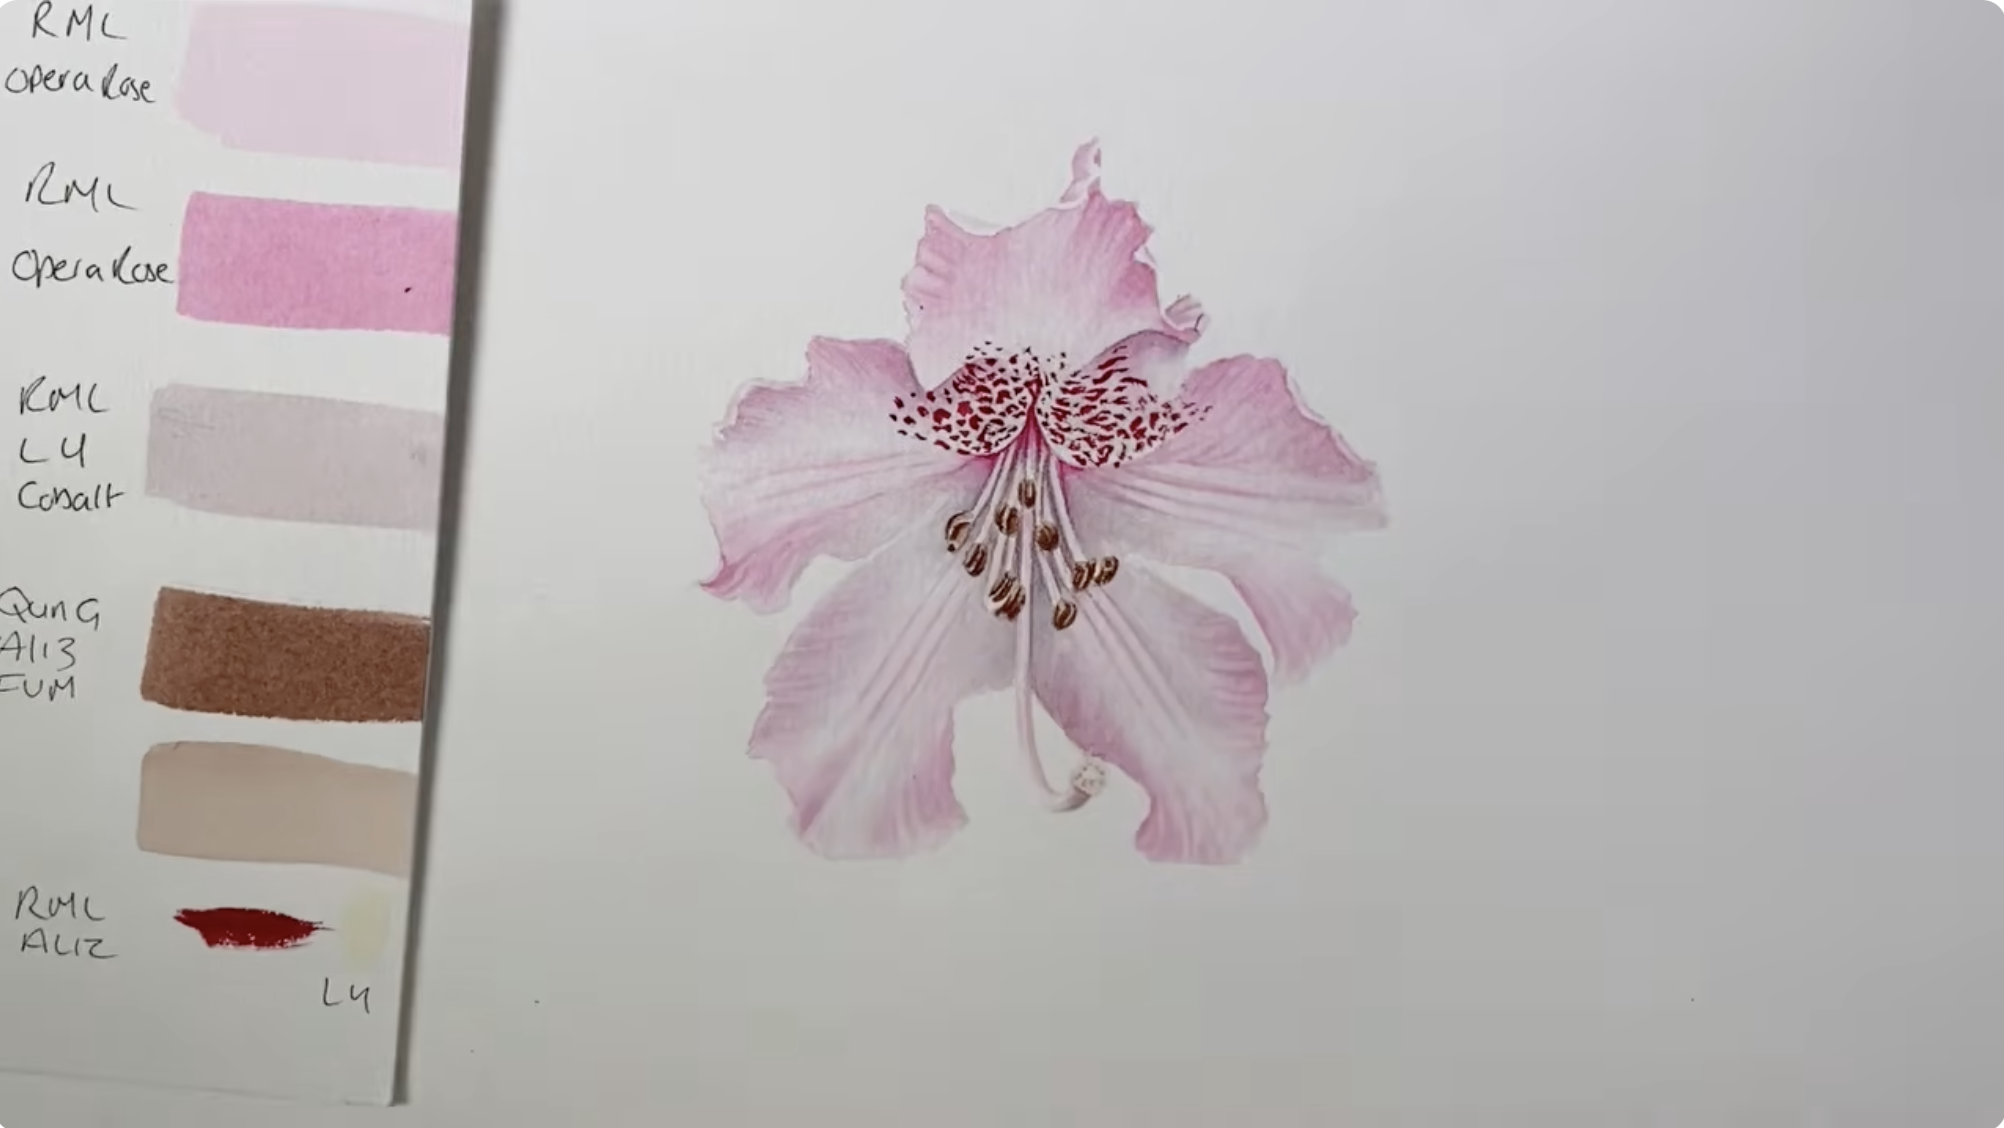
Step 6: Add the fine details
Once the main shapes and colours are established, you can begin to refine your illustration.
This might mean adding the delicate veins of a leaf, adjusting the shadow beneath an apple or capturing the small marks that make your subject distinctive.
Use a sharp pencil or a fine brush for these details, and look carefully at your reference rather than adding details from memory.
You do not need to include every tiny mark you can see. Instead, focus on the details that help communicate the structure and character of your subject.
Common mistakes beginners make
Learning botanical illustration takes practice, and there are a few common challenges that you can avoid from the beginning.
Pressing too hard with coloured pencils
Heavy pressure can fill the texture of the paper too early, leaving less room to build further layers and even damaging the paper. Start gently and increase the pressure only when you need to deepen the colour.
Rushing the initial drawing
It is easy to want to get straight to the enjoyable part of adding colour. However, spending time on the outline and proportions will make the rest of the process much easier.
Losing the highlights
Highlights are important for creating the appearance of light on a rounded surface or along a leaf. Identify them before adding colour and take care not to cover them accidentally.
Trying something too complicated too soon
There is nothing wrong with challenging yourself, but beginning with a simple subject can help you develop confidence and understand the techniques you will need for more detailed work.
Expecting your first attempt to look perfect
Your early illustrations are opportunities to learn. Each time you draw or paint a plant, you become more familiar with its structure, the behaviour of your materials and the techniques that work best for you.
Try to enjoy the process rather than judging every mark against someone else's finished artwork.
Frequently asked questions about botanical illustration
Do I need to be good at drawing to start botanical illustration?
No. Drawing accurately is a skill you can develop with practice. Botanical illustration involves careful observation, measuring proportions and gradually learning to recognise the shapes and structures of plants.
You do not need to be an accomplished artist before you begin.
Should I start with coloured pencil or watercolour?
Both are excellent choices, and the best option depends on what you enjoy.
Coloured pencil allows you to work gradually, building layers and refining details over time. It can be particularly useful if you prefer a slower approach and want to work in short sessions.
Watercolour allows you to explore transparent washes, colour mixing and the way pigments interact on the paper. It takes practice to control the paint, but it can produce beautiful results.
I would choose the medium that interests you most rather than feeling you need to learn both at once.
Can I use cold pressed paper for botanical art?
Yes, you can use cold pressed paper. However, its more textured surface can make very fine details more difficult than on hot pressed paper, which has a smoother finish.
For the detailed botanical work I create, I much prefer hot pressed paper.
How long does it take to complete a botanical illustration?
This really depends on the subject, the medium and the level of detail you want to achieve!
A simple leaf may take an hour or two, while a more detailed flower can take much longer. Just remember that there is no need to rush. You can work on your illustration over several sessions if that suits your schedule better.
Ready to try your first botanical illustration?
The easiest way to get started is to follow a project from beginning to end, with guidance on the drawing, materials and techniques involved.
I have a free Apple in Coloured Pencil tutorial that takes you through the process, from the initial outline to the final highlights. You can download the line drawing and materials list and work alongside me at your own pace.
Paint an apple with me in my free tutorial
If you would like more ideas for simple subjects to practise, my book Draw in 10 Minutes: Botanicals is also full of quick botanical drawing projects.
Remember, you do not need to master everything at once. Start with one subject, take your time observing it and enjoy discovering the details you might otherwise have missed.
Over on Patreon, I make approach botanical illustration easy. If you feel inspired, explore the projects and membership options.
I hope you enjoy beginning your botanical illustration journey.
Good luck!
Emma x